Barracuda Firewall Admin is a stand-alone Microsoft Windows application used to administer CloudGen Firewalls, Secure Connectors, and Control Centers. Unlike web-based administration portals, Firewall Admin lets you manage multiple firewalls from a single interface that remains independent from web browser incompatibilities. Firewall Admin is backward-compatible with firmware version 5.2, allowing you to always use the latest Firewall Admin even if you are managing older firmware releases.
Barracuda Firewall Admin can be downloaded directly from the Barracuda web portal.
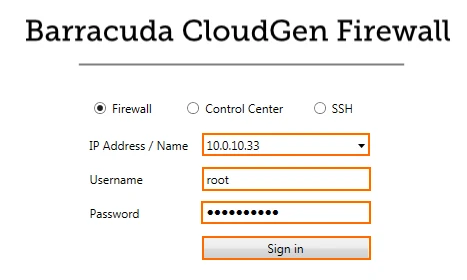
The default password is intended for initial access only. You must change the password once you are logged into the CloudGen Firewall. For more information, see How to Change the Root Password and Management ACL.
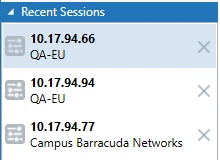
To simplify access, and for informational purposes, Barracuda Firewall Admin automatically stores box names and IP addresses of recently established Firewall Admin sessions in the Recent Sessions list. All connections are listed in the menu bar on the top left of the page.
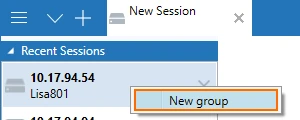
To arrange Firewall Admin sessions in groups, right-click a session in the list and select New Group.
Enter a descriptive name in the header field.
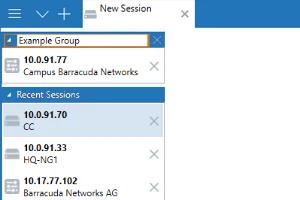
To add a session to the group, drag it into the group list. You can expand and collapse the group view by clicking the arrow icon in the left corner of the header field. To remove a session from the group, click the X icon, or right-click the entry and select Recent Sessions. To remove a group from the list, click the X icon next to the group header field. After a group has been deleted, all sessions are moved back to the Recent Sessions list.
To change a host entry in the Recent Sessions list on a CloudGen Firewall:
To change a host entry on a Control Center:
If you want to remove a connection from the list, click the X icon next to the entry.
If you do not want IP addresses or other details of recent connections to be visible in the Recent Sessions list, adjust the client settings:
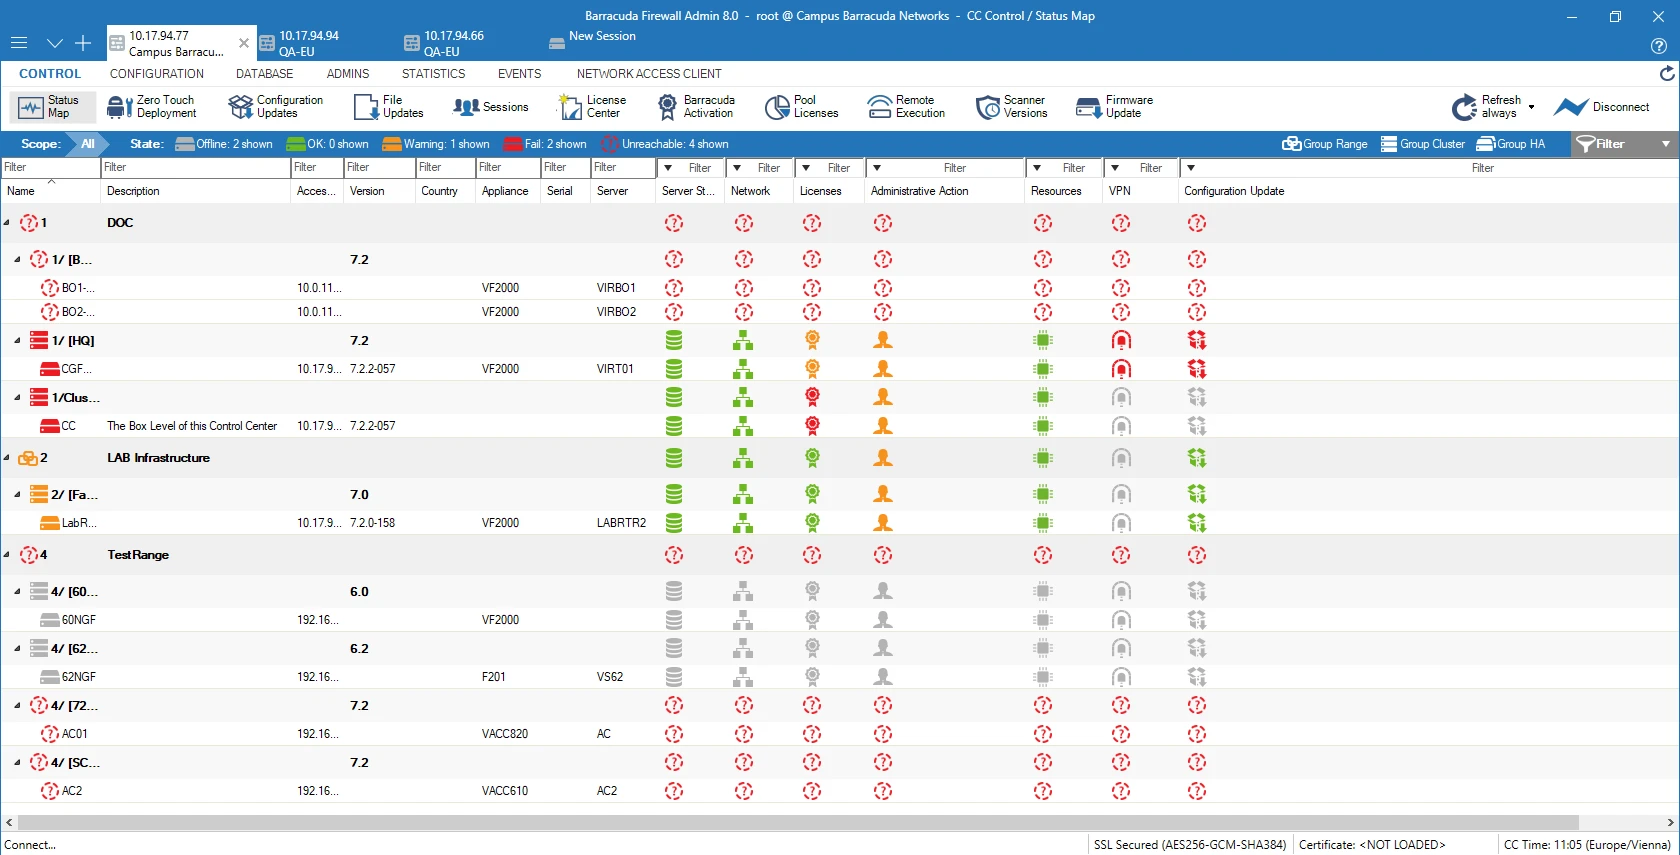
The Firewall Admin user interface is divided into several functional sections. Although the content on a CloudGen Firewall differs from the Firewall Control Center, position and basic functions are identical. The following screenshot shows the Firewall Admin application connected to a Control Center:
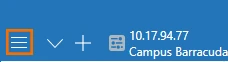
A tab above the ribbon bar is created for each CloudGen Firewall or Control Center you are logged into. You can log into a single system multiple times. You can also reorganize the tabs by dragging them.

The tab for the selected unit is always highlighted. Clicking open tabs allows you to switch between connected units.
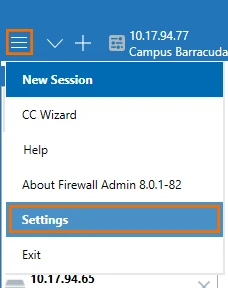
Click the hamburger menu on the top left to access the Firewall Admin settings menu, where you can configure general settings for the Firewall Admin application, such as the behavior of connections and configuration elements.
The service bar is the main navigation and operation utility of the user interface and provides a tab for each main section of the CloudGen Firewall or Control Center. Additional services introduced on the Firewall Firewall CloudGen, like VPN, add further tabs to this bar from where you can access settings and sub-sections, depending on the configured service.

On the CloudGen Firewall, the Firewall Admin interface service bar contains the following tabs:
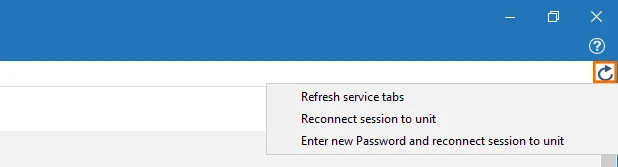
Right-click the Refresh icon on the top right to access the context menu with the following options:
On the Firewall Control Center, the Firewall Admin interface service bar contains the following tabs:
Located directly under the service bar, the ribbon bar provides icons for each section relevant to the selected service bar tab. To access a section, open a tab in the service bar and select an icon from the ribbon bar to open the corresponding settings page. In some cases, you might have to expand the icons section in the ribbon bar to gain access to all sections.

In the top-right corner, the ribbon bar provides icons to specify system refresh settings. Clicking the last icon disconnects the unit. When disconnected, this icon changes to Connect.
The main window contains the configuration and information part of Firewall Admin. Depending on the tabs and icons selected from the service and ribbon bars, the main window displays information that is relevant to the selected item and might also contain further tabs and subsections.
For entries and items displayed on a page, Barracuda Firewall Admin provides a corresponding context menu. The options that are available when right-clicking an entry depend on the entry. The following settings are standard and included on nearly all of the pages:
The status bar at the bottom of the Firewall Admin user interface displays information about the certificate status, the TLS connection, and the time zone specified within the box time settings.
![]()
Note that the listed time in the lower right corner is not incremented after logging in. The time is related to your time zone.
If you want to read the current time, click the cog-wheel in the Appliance Element of the DASHBOARD and set the update interval to 10 seconds. This will refresh the time to be displayed in the configured interval.
On the CONFIGURATION page, you can configure all settings and services of the CloudGen Firewall or Firewall Control Center. The config tree contains all configuration sections, listed in hierarchical levels, from where you can add and access firewall services, and, if on a Firewall Control Center, create and configure ranges and clusters, and add your CloudGen Firewalls. For more information, see CONFIGURATION Tab.
Hardware firewalls using the web interface as the default management interface can use Firewall Admin in monitor mode with a read-only configuration. Alternatively, you can also disable the web interface and use Firewall Admin to manage the firewall configuration.